16
Nov
The 5 Steps of Solar Panel Installation
Setting up solar panels should seem fairly simple; you put out the solar panels and plug them in. While this is kind of true, it is a gross oversimplification. There are actually quite a few steps that go into solar panel installation. Here are the 5 steps of solar panel installation that you need to know.
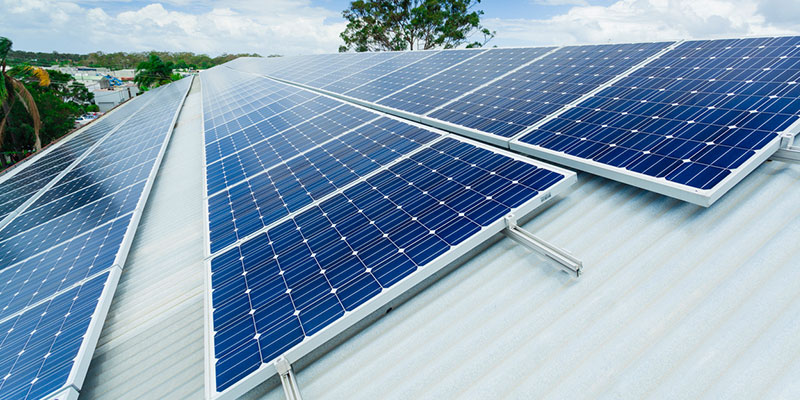
- Set up Scaffolding and Mounts: Before solar panels can be placed, they need somewhere to go. Scaffolding on a tilted area needs to be built, upon which mounts can be placed.
- Install Solar Panels: Once the scaffolding and mounts have been installed, solar panel installation can commence. This means placing and screwing in all of the panels into their final location.
- Wiring: The solar panels need to be connected to something, so now begins the process of wiring the solar panels. Make sure the electrical systems are turned off, because this part may get dicey if electricity can flow while wiring is happening.
- Inverter and Battery: The energy that is created is DC energy, so an inverter is needed to turn it into usable AC energy. From here, a battery is usually installed so the AC energy can be used even when it is not sunny outside.
- Testing: When the panels are installed and connected to the inverter and battery it is time to test out the system. Some troubleshooting may be needed from here, but hopefully it works, and the solar panel installation process is finished.
While it is a somewhat simple process, there are some interesting parts to solar panel installation.


